What Is Physical Product Design?
Physical product design is the process of creating products that are not only functional but also appealing to the customer. Physical product design aims to take a product from concept to reality. Physical product designers must have a strong understanding of both.
1. Define The Problem
First, you must define the purpose of the design. Then, you need to immerse yourself in the actual problem you’re trying to solve.
Ask yourself a question like:
- What does this product need to do?
- How will users interact with it?
- Is there a unique selling proposition?
- Why should it exist?
2. Research The Competition & Market
After you have defined the problem, you need to research everything about it. Learn about the user, the competition, and what others have done in the past to solve similar problems.
Market research is KEY! I’ve said it thousands of times, and ill repeat it. Don’t start designing until you’ve verified an existing market for the product.
Creating a product without first confirming market demand is like going out in a convertible without checking the weather first.. Its a bad idea!
3. Generate Ideas
Now it’s time to start generating ideas. This step is where you let your creativity run wild. Brainstorm with a team or yourself and devise as many solutions as possible.
To help you keep a clear goal when you start designing,
Make a list of the must-haves of the product; this will help you set guidelines for the design.
Your list should look something like this.
- What features are necessary for this product to work?
- What is the bare minimum for this product to work?
- How much aesthetic liberty or expression should the product have?
Keep this list somewhere you can see while designing. And as you conceptualize, check off the requirements you complete.
4. Conceptualize Your Idea
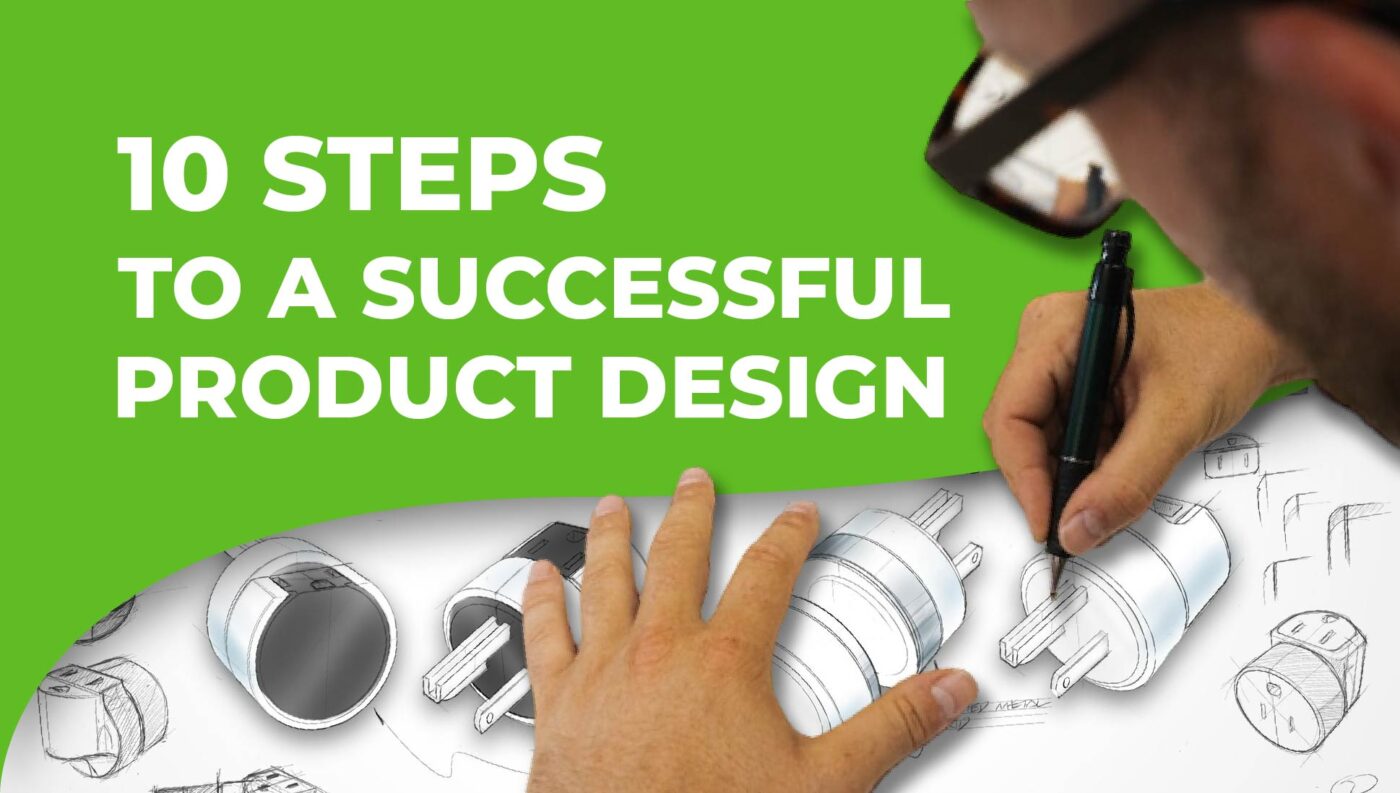
Ok, now you can begin sketching and illustrating some designs.
Start by grabbing a pen and paper, or if you prefer, open up your design software of choice.
And begin sketching out some possible designs. Try to come up with three to five different conceptually unique designs.
This part should come naturally to any product designer, so no need to dive too deep into this step.
5. Choose The Best Idea
Once you have a few solid ideas, it’s time to choose the best one.
Consider all of the factors involved and pick the solution that you think will be most effective.
To pick the best design, ask yourself the following questions:
- Does this design meet all of the requirements on my list?
- Is this design feasible to produce?
- Would my target market connect with this design?
- How does this design compare to similar products on the market?
6. Refine
From here, it’s time to start refining your design and making it look more polished. This step is where you’ll start paying attention to details like colors, materials, finishes, and packaging.
Physical product design is about creating a product that looks good and functions well.
But it’s also essential to consider the manufacturing process and ensure that your product can be produced efficiently and reasonably.
7. Create A Prototype
Once you have chosen your solution, it’s time to develop a prototype. Finally, you can use this working version of your solution to test its effectiveness.
There are many prototype creation methods, from 3D printing to CNC machining to cutting and sewing.
Prototypes are always broken down into two types
Alpha Prototypes:
This prototype is the first jump from digital to physical. It is used to test dimensions and sizing, and ergonomics. This prototype is not meant to be functional.
Beta Prototypes:
Beta Prototypes are the functional prototypes that will be used for testing. Once functions such as mechanisms and fitment have been verified, visual aesthetics can be applied and tested.
For example, painting or using the final material may add unnecessary costs in the early rounds of beta prototyping.
Remember that there are always several versions and rounds of alpha and beta prototypes.
8. Test The Prototype
Now that you have a prototype, it’s time to put it to the test. Try it out in a real-world situation and see how well it works.
If necessary, make adjustments to improve its performance, such as changing the materials or redesigning certain elements. Once you’re happy with the results, your product is ready for launch!
There Are Many ways you can test your prototype. Read our blog below to thoroughly test your prototype.
Related Blog: How to thoroughly test your Physical Prototype.
9. Refine, Refine and Refine Again
If you see any areas that could be improved, go back to the drawing board and refine your design. With each iteration, you’ll get closer and closer to creating the perfect product!
Only in Extremely RARE cases does a prototype come out perfect. It will almost always have imperfections or ways it will be improved.
Repeat this step as many times as needed until the resulting product/prototype is near perfect.
“Why?? Won’t it slow down the process and cost me more money?”
Yes,
But keep in mind that if it has even just one imperfection, and then it goes to manufacturing, now you have thousands of imperfections…
So ensure you get it right the first time and then start manufacturing your product.
10. Finalize Design and Get Ready To Manufacture!
The next phase is to manufacture your product. This involves working with a manufacturer to create your product according to your specifications.
You will need to provide them with all of the necessary information, such as drawings, 3D models, and any other relevant data. Once they have everything they need, they will be able to start manufacturing your product design.
Conclusion
In Conclusion, the 10 steps to creating a successful product design are:
1. Defining the problem
2. Research the competition & Confirm Market Demand
3. Generate Ideas
4. Conceptualize your Idea
5. Choose the best idea
6. Refine
7. Create a Prototype
8. Test Prototype
9. Refine Again
10. Prepare for Manufacturing


